10 expert tips for building production-ready lighting macros

Lighting macros are an essential tool in VFX and animation. In this article, Jonathan Wai reveals his tips for creating Katana macros that hold up in production, based on over a decade of experience on demanding movie and broadcast projects at studios like Industrial Light & Magic.
Macros can be incredibly powerful tools. They save time, reduce repetitive work, and help teams move faster. But once dozens of artists start relying on the same macro, even small issues can snowball. What works perfectly for one person can quickly become fragile at scale.
Over the years I’ve built and maintained many lighting macros used across multiple sequences. This article summarizes some of the production habits that helped those tools stay reliable under real show pressure. Nothing overly technical, no complicated scripts: just things that actually help when you’re working in a real show with a real team.
The tools I’m describing here aren’t theoretical. The lighting macro framework I developed has been used across multiple major productions at Industrial Light & Magic, from The Mandalorian Season 3 to Transformers One, and has been adopted by other artists on those productions. That cross-show durability is the real test of whether a tool was built well or just built fast.
Everything in this article comes from watching what held up and what didn’t under real production pressure.
The examples shown are for Katana, Foundry’s lighting and look development software, but the underlying principles can be applied to creating macros in other applications.
1. Build for the team, not yourself
The moment you publish a macro, it stops being yours. Other artists will open it, make changes, and depend on it. If the layout is messy or the intent isn’t clear, it becomes hard to maintain.
In production, tools often pass between multiple teams as deadlines shift. Macros that are clearly organized are simple to update. Messy ones slow down the whole sequence because nobody wants to risk breaking them.
Simple things help: clean naming, well-grouped sections, and brief notes where the logic isn’t obvious. Build so someone who didn’t sit beside you can still understand what you meant.
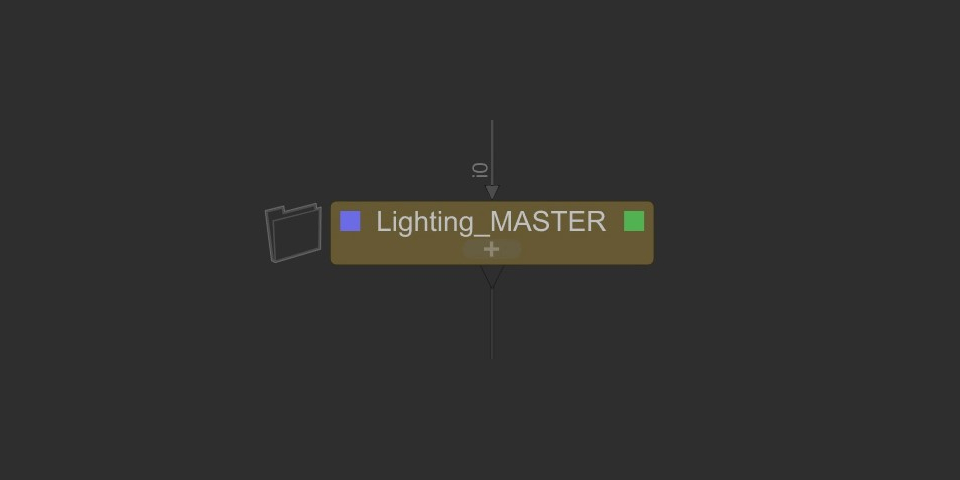
2. Design a clear, communicative UI
A macro is only as useful as its UI. If artists have to guess what a control does, they’ll either ignore it or accidentally introduce problems.
A solid UI usually includes:
• Clear naming, with no personal shorthand
• Collapsible groups for advanced settings
• Logical control order (for example: Exposure → Color → Shaping → Extras)
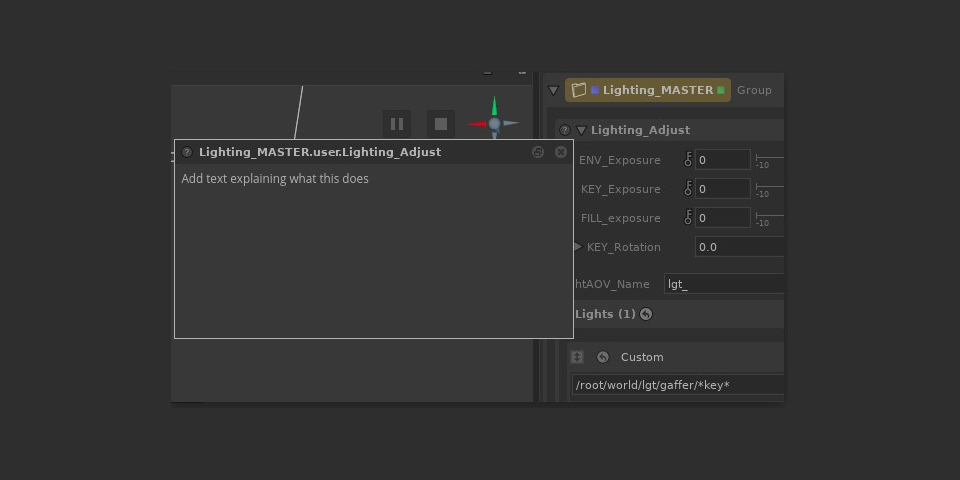
• A one-line description at the top explaining the tool’s purpose
• Fewer, smarter controls rather than dozens of toggles
The goal is that an artist should open the macro and start lighting within seconds.
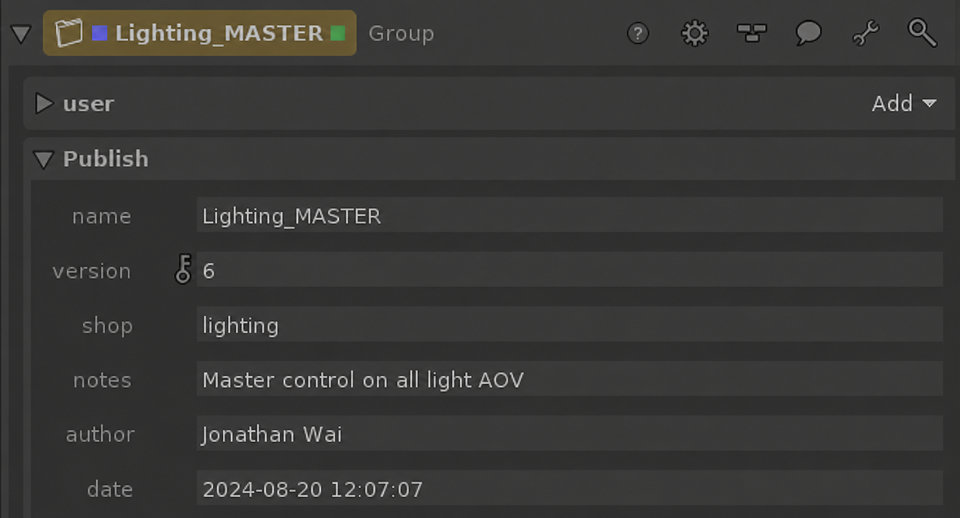
3. Version everything
Macros tend to outlive their original owners. Months later, someone else might still be using the same tool you built on day one.
Versioning protects you and everyone else. Instead of overwriting a file, save a new version. Add a comment inside the macro with the date and reason for the update. Keep an archive folder. It takes almost no time and prevents a lot of “why did this tool suddenly break?” conversations.
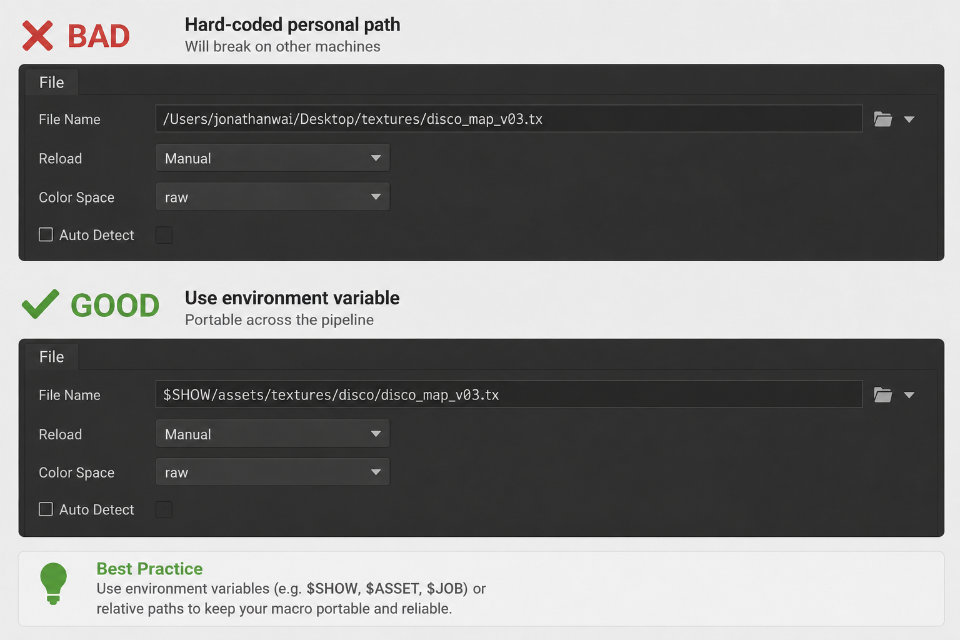
4. Avoid hidden dependencies
A macro should load the same way on every machine – yours, your lead’s, and the render farm. Common problems to avoid include:
• Hard-coded paths to your personal drive
• Referencing test textures only you have
• Custom scripts that aren’t part of the studio build
• Anything that silently fails on the farm
Use environment variables or relative paths whenever possible. If something external is required, make it obvious inside the macro.
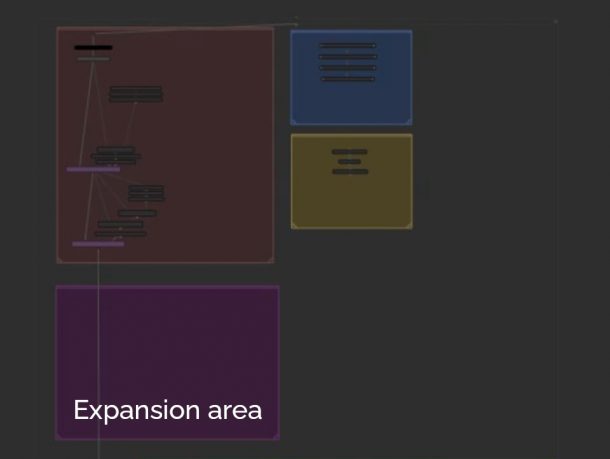
5. Leave room for change
Shows evolve. Assets move. Someone will ask for a feature halfway through production. So give yourself room to accommodate changes. Ways to do this include:
• Leaving small ‘expansion areas’ in the node graph
• Adding a comment like “This section is safe to modify for shot specific overrides”
• Using a variable or a wildcard so the macro adapts when the show structure changes
Using patterns like /show/${SHOW}/assets/*/textures/ will mean that you don’t need to redo paths when assets inevitably get reorganized later.
6. Make the macro easy to troubleshoot
Something will break. It’s only a matter of time. Maybe a node gets renamed, a path moves, or someone tweaks a setting they shouldn’t. When that happens, how you organized your macro can make the difference between a quick fix and having to start over.
So keep your node tree readable and add comments where things aren’t obvious. If a section tends to cause trouble, leave a short note. And when testing, flip things off and back on to see what depends on what. It helps spot the weak points.
More specific tips:
• Color-code portions of the graph: blue for lighting tweaks, red for technical sections, and so on
• Leave a bypass switch on complex sections so you can isolate issues quickly
• Avoid giving nodes names like ‘fix03’ or ‘temp_final_final’
7. Validate input early
Catching problems early avoids wasted renders. If a texture is missing or a value is empty, surface it immediately instead of letting the render fail later. Early warnings keep things stable on both artist machines and the farm.
Things to try:
• Displaying a warning in the UI when a required texture path resolves to nothing
• Printing “Environment map missing – using fallback gray” instead of silently failing
• Coloring a control red if the value is empty or outside expected ranges
• Adding a toggle called ‘Run Input Check’ that highlights missing resources
A worked example:

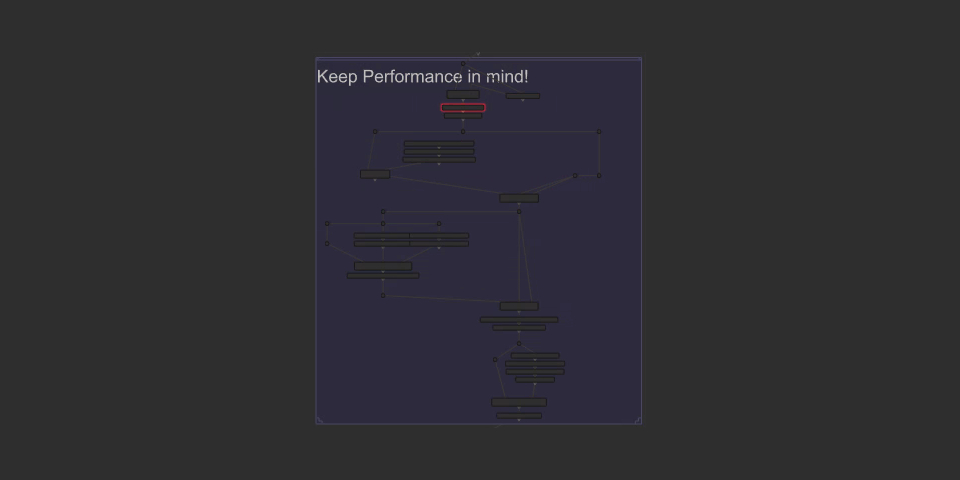
8. Keep performance in mind
Once your inputs are safe, the next biggest issue is performance. A macro that looks clean but slows shots to a crawl becomes a bottleneck in production. Something that feels instant in a test scene might be expensive when used across hundreds of shots or multiple characters.
Watch out for heavy operations and unnecessary duplication. Reference assets instead of copying them, and avoid burying costly nodes inside deep macro stacks. And before releasing the tool, profile it so you don’t surprise the team later.
Ways to improve performance:
• Replace multiple identical texture reads with a single shared reference node
• Move static calculations upstream so they only run once
• Remove leftover or disabled nodes that still evaluate under the hood
• Use Katana’s Performance Monitor to flag nodes with unusually high cost
9. Give leads global control handles
Once a macro becomes part of a team’s workflow, leads often need quick ways to apply broad adjustments. Exposing a few top-level controls saves them from digging through the graph when time is tight.
Useful global controls include:
• A master exposure multiplier
• Draft/final quality switches
• Feature toggles like ‘Enable Contact Shadows’
Clean, obvious global controls help entire sequences move more smoothly.

10. Share, test and iterate
No tool is perfect on the first pass. The fastest way to improve a macro is to let a few artists use it on real shots. Common habits that help:
• Give the tool to two or three artists on different sequences
• Keep a short list of feedback and requests
• Test it on heavy environments, not just simple setups
• Freeze the tool once stable to avoid inconsistent updates
A macro that survives real production use becomes a reliable asset for the whole team.
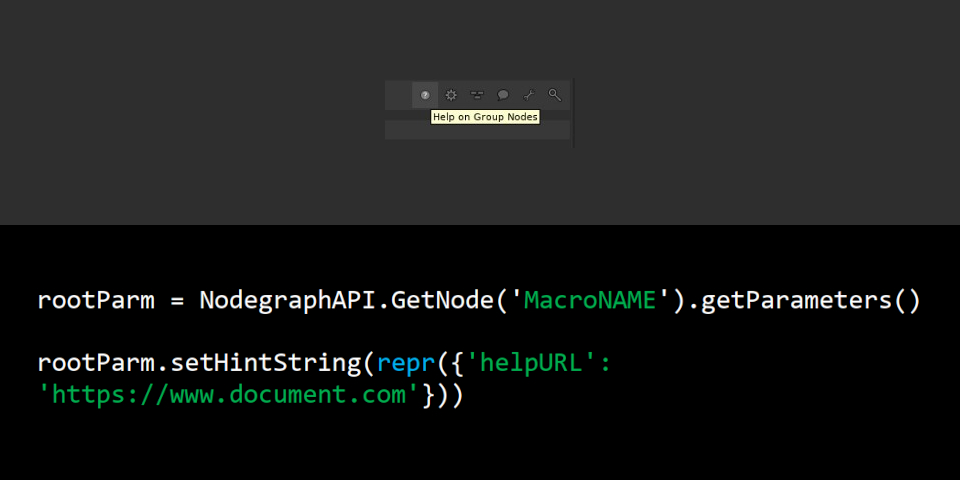
Final tip: if you created a user guide for your macro, you can link it directly inside the tool by using the command shown below.
Conclusion: build tools that outlast you
The best macros don’t draw attention to themselves. They quietly help shots get done faster and more consistently. If you build with clarity, flexibility, and teamwork in mind, your tools will
stay useful long after you’ve moved on to the next sequence.
To round off this article, here’s a shot of mine from Transformers One that uses the same lighting macro as the shot from The Mandalorian at the start of the story, demonstrating how a well-built tool can even carry across productions.
![]()
 About the author: Jonathan Wai is a Senior Lighting Technical Director at Industrial Light & Magic with 14 years of experience. His credits include The Mandalorian, Transformers One, Lilo & Stitch, Lost Ollie, and Spider-Man: Into the Spider-Verse. He is a member of the Visual Effects Society and the Television Academy. Jonathan’s IMDb entry | Demo reel
Have your say on this story by following CG Channel on Facebook, Instagram and X (formerly Twitter). As well as being able to comment on stories, followers of our social media accounts can see videos we don’t post on the site itself, including making-ofs for the latest VFX movies, animations, games cinematics and motion graphics projects.