Turn your desktop into a UE5 platformer with 3D scanning
[Sponsored] KIRI Innovations CEO Jack Wang reveals how he used KIRI Engine, his company’s 3D scanning app for Android and iOS phones, to turn the objects on his desktop into a 3D platformer in Unreal Engine 5
Like many gamers, I’ve always wanted to make my own game, preferably with a low budget, a short production time (maybe a weekend?) and without compromising on graphics quality. And after seeing a few amazing demos of Unreal Engine 5, I knew that it was poised to take on my challenge.
Now, I’m no game dev, so creating an open-world RPG was most definitely off the plate. I decided to go for a simple 3D platformer, and to include only 3D scanned assets. My desk seemed like a good candidate environment, with lots of obstacles like a keyboard, a mouse, a computer stand, pens, books and so on.
To convert these real-life objects into digital 3D assets, I used KIRI Engine, the photogrammetry app for Android and iOS phones that my team and I have been working on for the past year. Let’s go over the steps it took to create a 3D platformer on UE5 with exclusively 3D scanned assets!

Some of the things I wanted to 3D scan for the game.
Step 1: 3D scanning the objects
First, I gathered all the objects I wanted to scan for my game: a keyboard, a mouse, a paint brush, some speakers, my screen stand, a couple of lamps, a book, some camera lenses, and a few decorative items.
One by one, I scanned the objects with KIRI Engine. The app works with photogrammetry, so scanning simply consists of taking photos (a minimum of 20) of each object from different angles. It took me around 30 minutes to shoot 10 objects, and processing took about five minutes per object.
I chose to export the 3D models in OBJ format to be able to easily edit each texture map if needed; other formats like USDZ, glTF and FBX are available as well.
The easiest objects to get decent 3D scans of were the decorative cake slices and the rabbit house ornament, as they have a lot of different colors and details. That means there’s a lot of information for the photogrammetry algorithm to analyze.
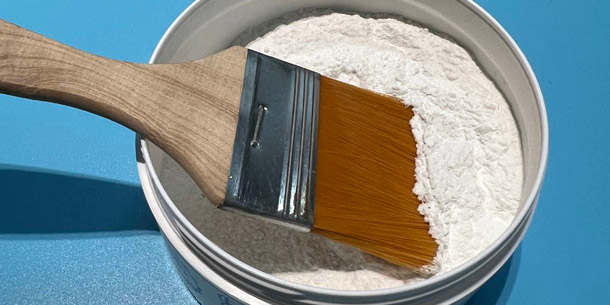
Baby powder is my favorite way of preparing tricky objects, like those with smooth, dark surfaces, for 3D scanning. It’s low-cost, easy to apply and wipe clean, and it smells nice (for most people!).
The most time-consuming object that I scanned was my computer mouse – it’s dark-colored and has a very smooth surface (both are challenging surface types for many 3D scanners), so I had to apply some baby powder. By applying baby powder, chalk, mattifying spray, or even toothpaste, you’re adding an extra layer of feature points for the scanner, helping it to recognize the shape of the 3D object.
Step 2: Perfecting the scans
The results were quite clean, in part thanks to our AI-based, noise-reducing algorithm. But, like any raw 3D scans, some needed a few final touches. Clean-up took me around an hour in total.
For this use case, the main thing that needed doing to the models was plane cutting – removing the parts of the desk that had been scanned along with the object. Meshmixer is my go-to tool for plane cutting, not only because it’s free, but also because it automatically fills in holes after I perform plane cuts.
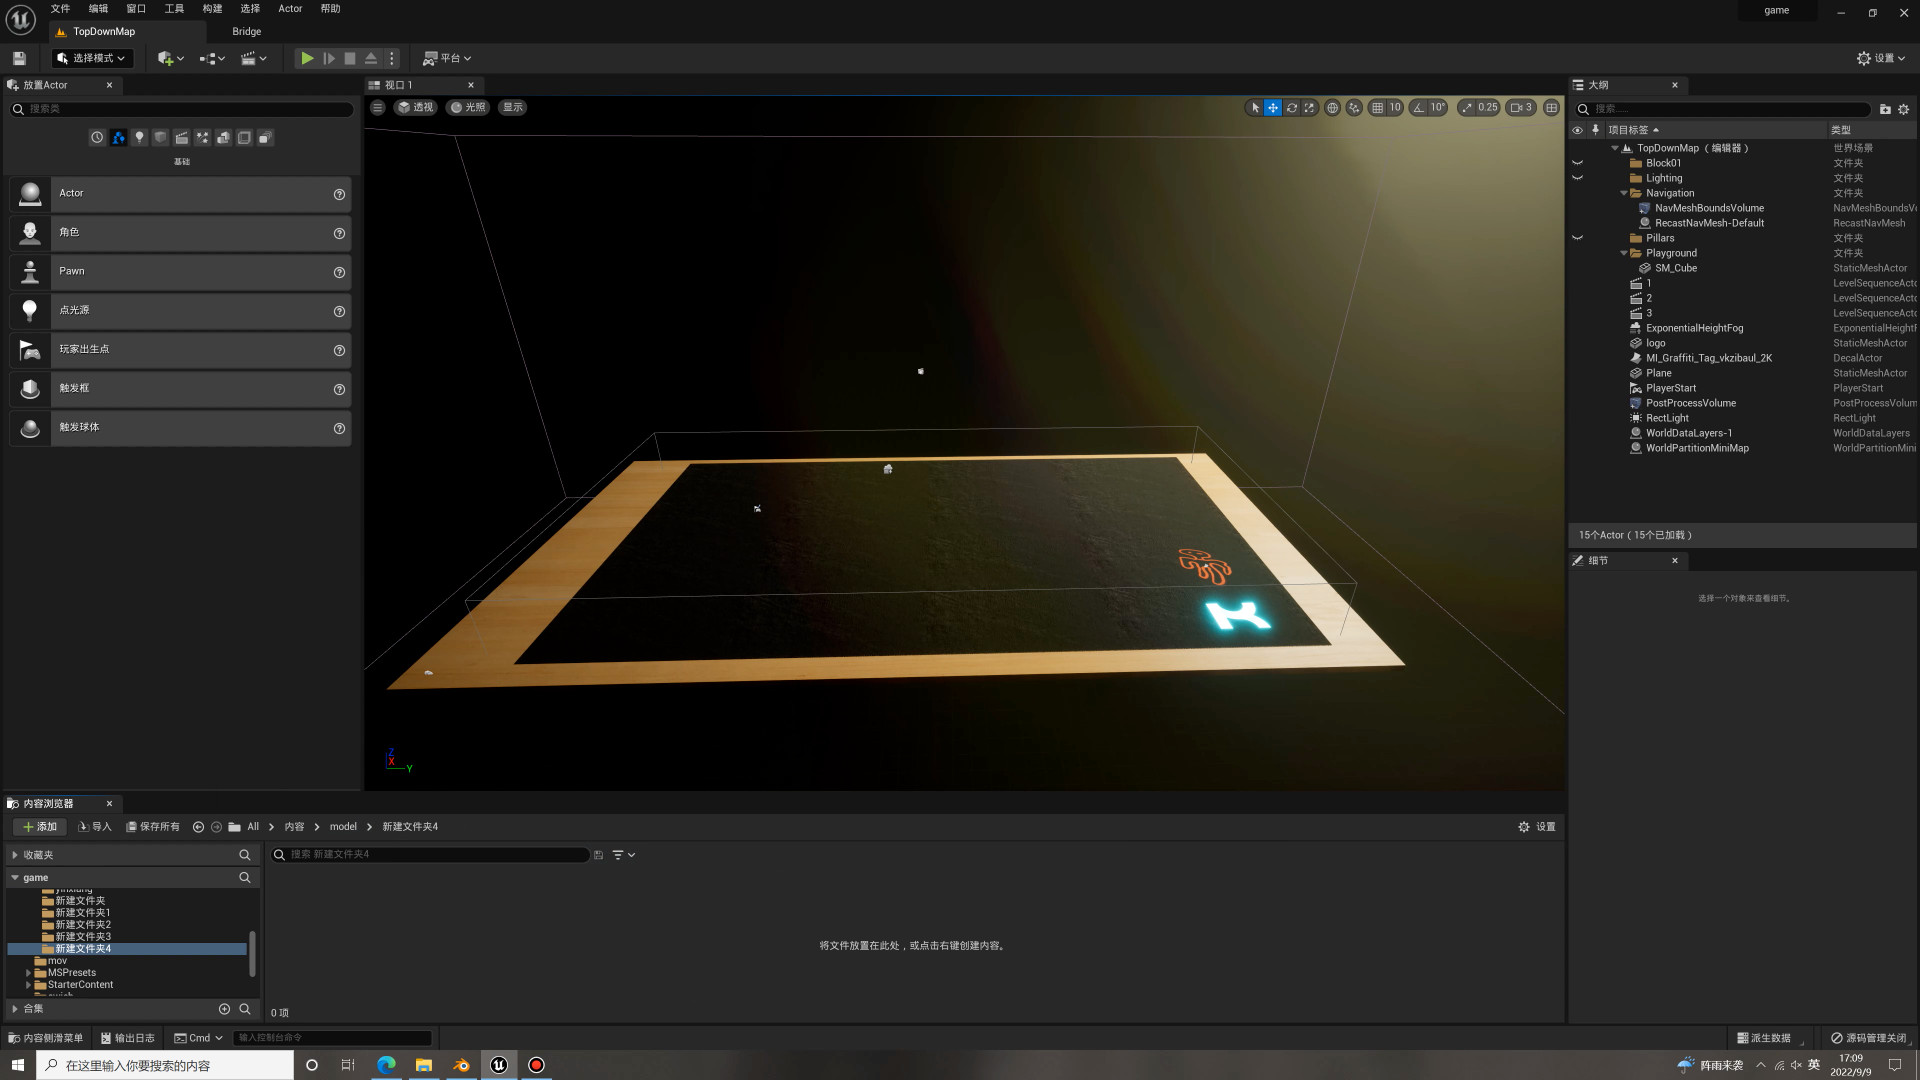
Step 3: Planning the game
Now, time to plan the game. The mission I wanted is simple: navigate through and past obstacles to find the treasure (in this case, the little blue cube). So I created a small, simple playground inside Unreal Engine and dropped in a few obstacles to get the hang of it and see how it looked.
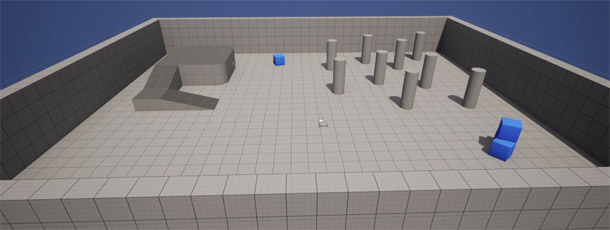
The early stages of the game.
UE5 offers a set of different game templates. It was therefore easy to figure out how to plant a character and have him move around. Our little guy responds to mouse-clicking and dragging, although it’s a tad more difficult than playing with standard keyboard controls.
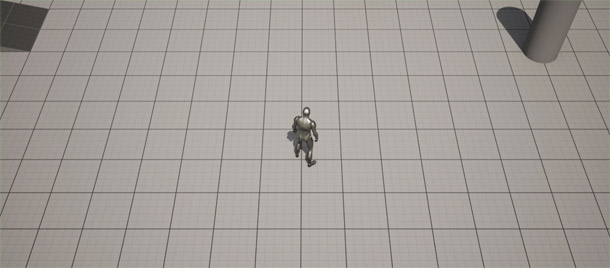
I named the main character after Peter, our CFO.
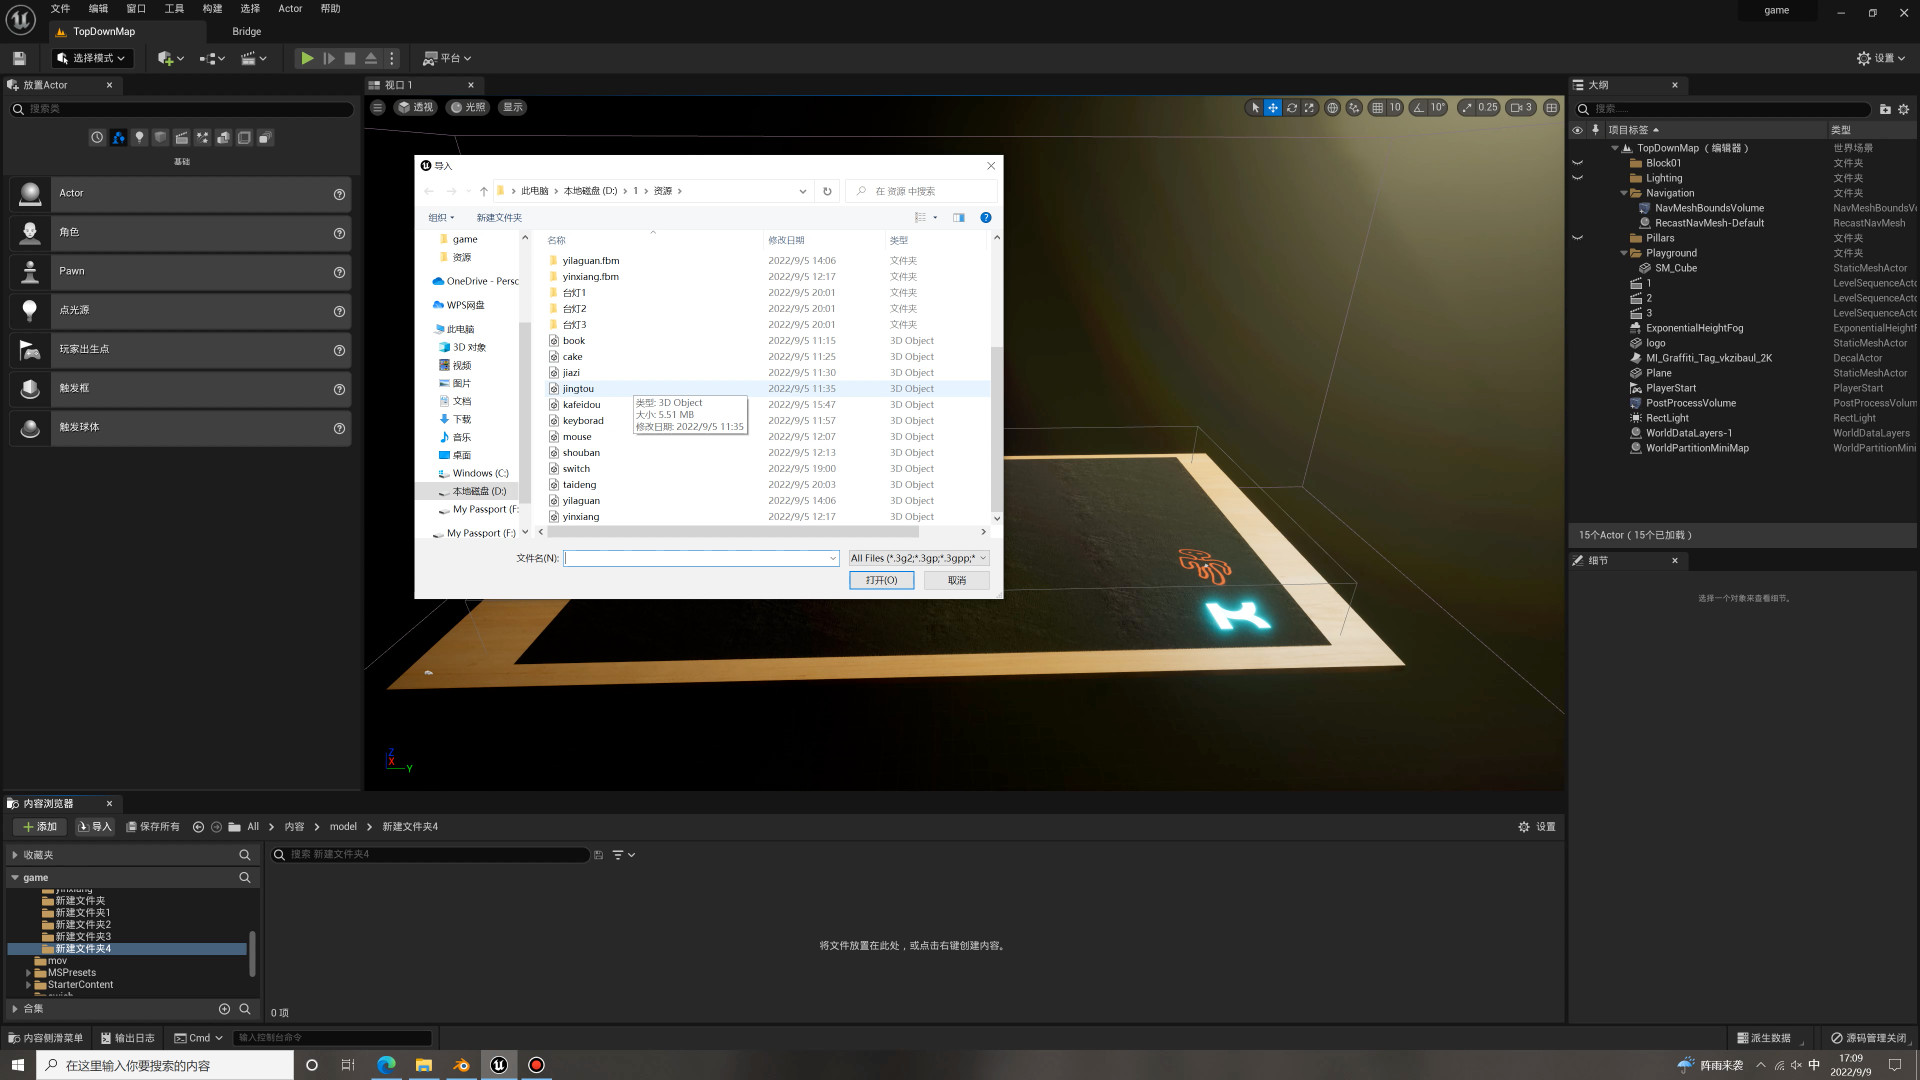
Step 4: Importing my 3D scans into Unreal Engine 5
Once I was happy with the template, all that was left to do was to import my clean 3D scans into UE5.
To do this, you just go to the Import menu inside the Unreal Editor, select your files, and shoot. I recommend importing the files one at a time that they’re easier to manage.
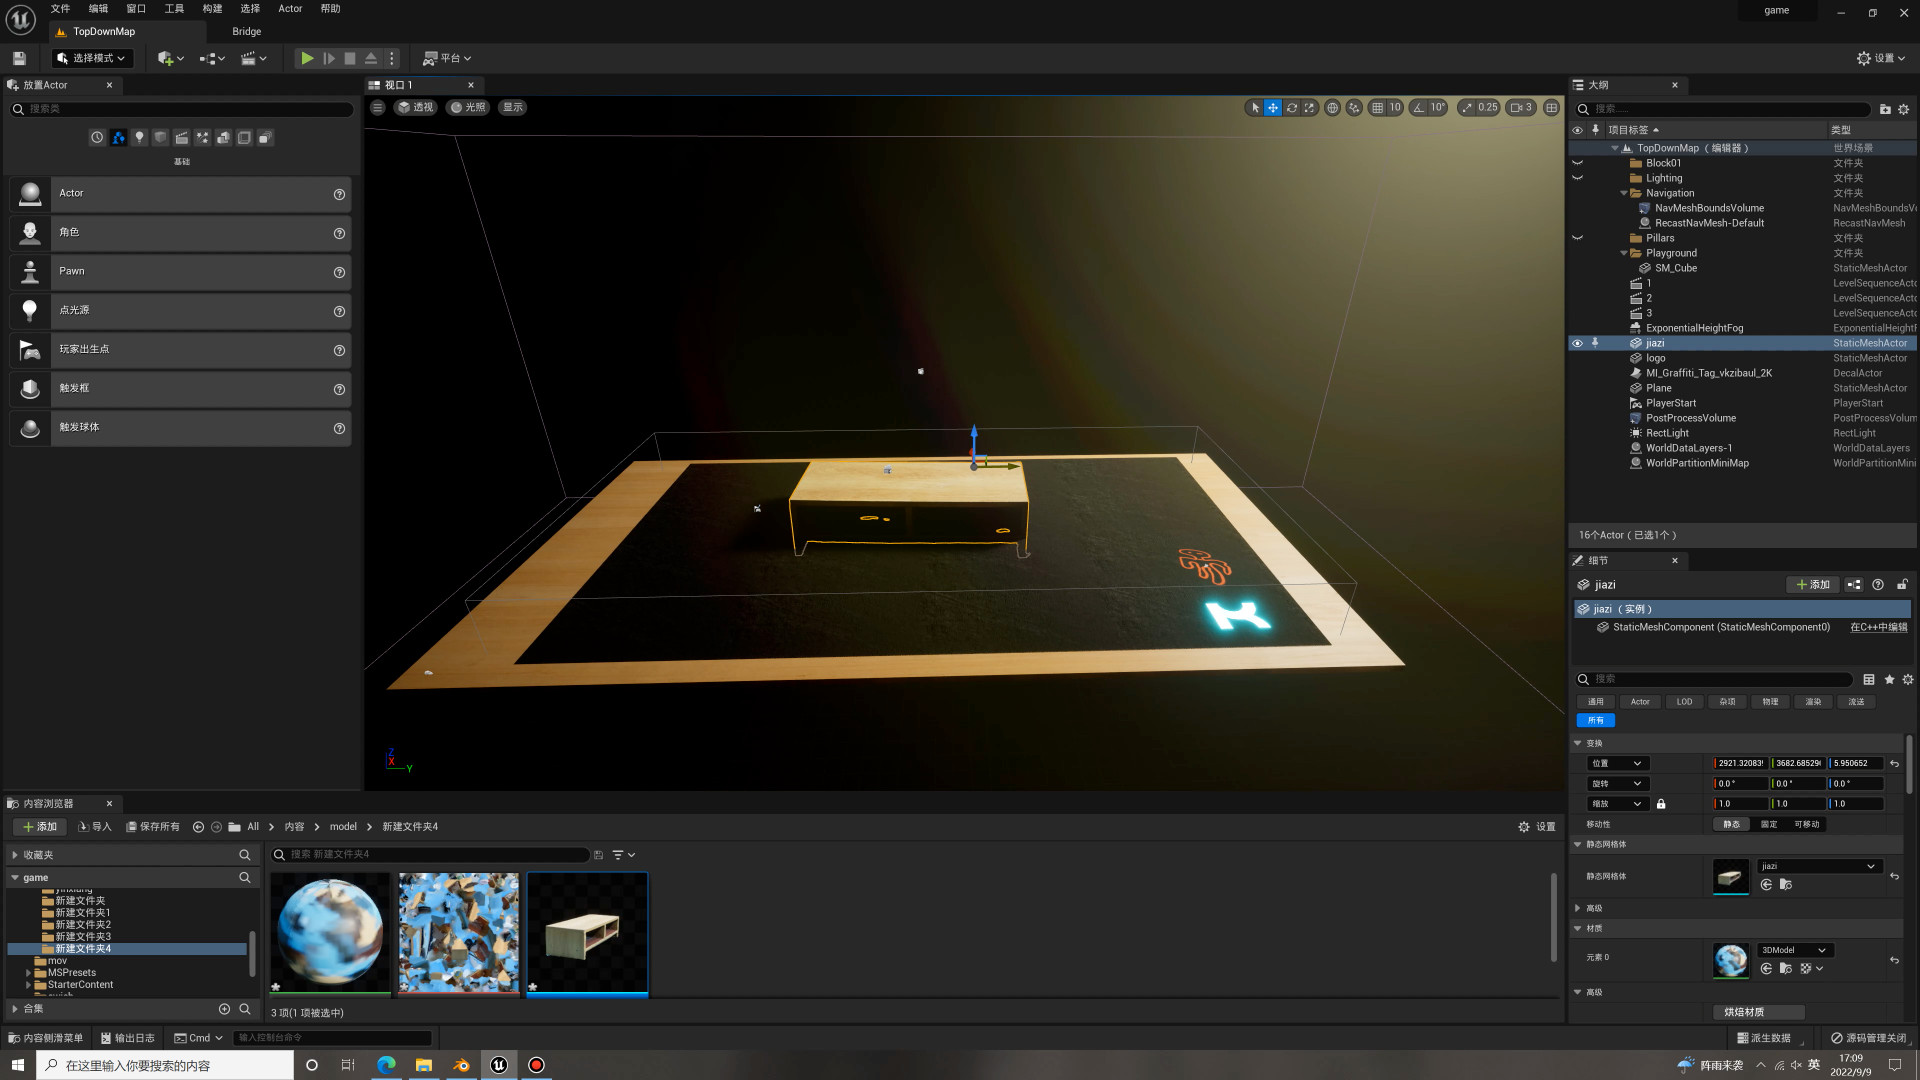
Importing my 3D scans into Unreal Engine 5 was super-straightforward. When you import the models, their textures are loaded automatically. Click on the thumbnails to see the original screenshots at full size.
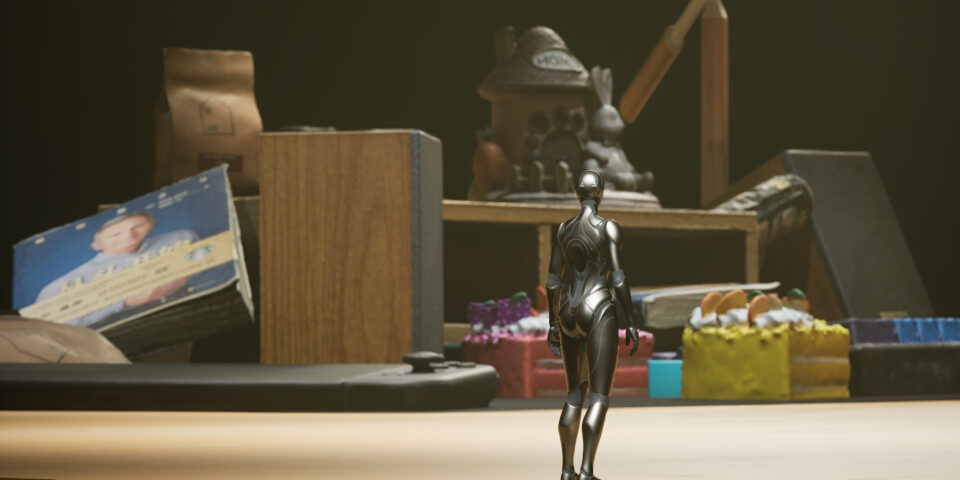
I placed each scan where I had previously sketched up an obstacle, and ended up with a kind of 3D recreation of my desktop, reimagined as an interactive parkour environment.
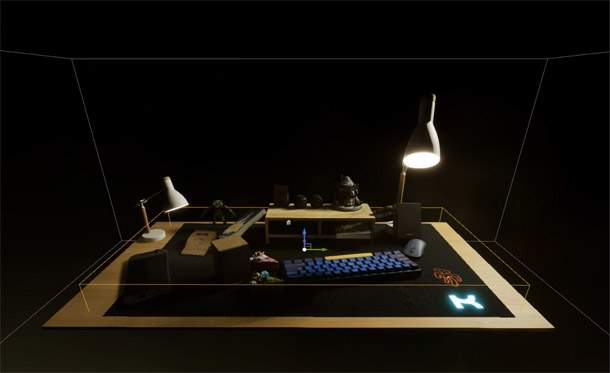
An overall look at the final Unreal Engine scene.
I added a few other elements to the objects, like sounds (there’s a typing sound when the character moves over the keyboard), and set a dim lighting environment.
Step 5: Playing the game
This 3D platformer takes just 45 seconds to complete – talk about mini! – but it is a little tricky in some areas. You can take a quick look at how the finished game turned out in the video below:
Conclusion
So that’s how I made a 3D platformer in Unreal Engine with 3D scanned assets from KIRI Engine – our photogrammetry 3D scanning app for iOS and Android.
If you want to try it out for your own projects, you can download KIRI Engine on the App Store or on the Google Play Store. Please share your scans with us and the KIRI community Discord server!
 About the author: Zheng Nan (Jack) Wang is the CEO and co-founder of KIRI Innovations, the company behind 3D scanning app KIRI Engine. When he’s not coding KIRI or 3D scanning, he enjoys practicing Kendo, trying new foods, and playing videogames like Horizon Zero Dawn. Visit the KIRI Engine website