Expert advice: Marvel character artist Josh Herman
The creator of Iron Man’s iconic power suit and Groot from Guardians of the Galaxy explains his character sculpting workflow, how to ‘read’ a concept image correctly – and how to take the pain out of retopology.
 Character artist Josh Herman trained at the Gnomon School of Visual Effects, before going on to work at Legacy Effects on movies such as Real Steel, The Amazing Spider-Man and The Avengers. After a stint at Naughty Dog, working on Uncharted 3: Drake’s Deception, he was recruited by Marvel Studios, where he has worked on Iron Man 3, Thor: The Dark World, Captain America: The Winter Soldier and Guardians of the Galaxy.
This week, Josh will be explaining the character design and sculpting workflow he uses in production at Gnomon Master Classes 2014: the Gnomon School of Visual Effects’ series of interactive online workshops, which run until 6 July. We caught up with Josh to discuss the class and get his technical tips.
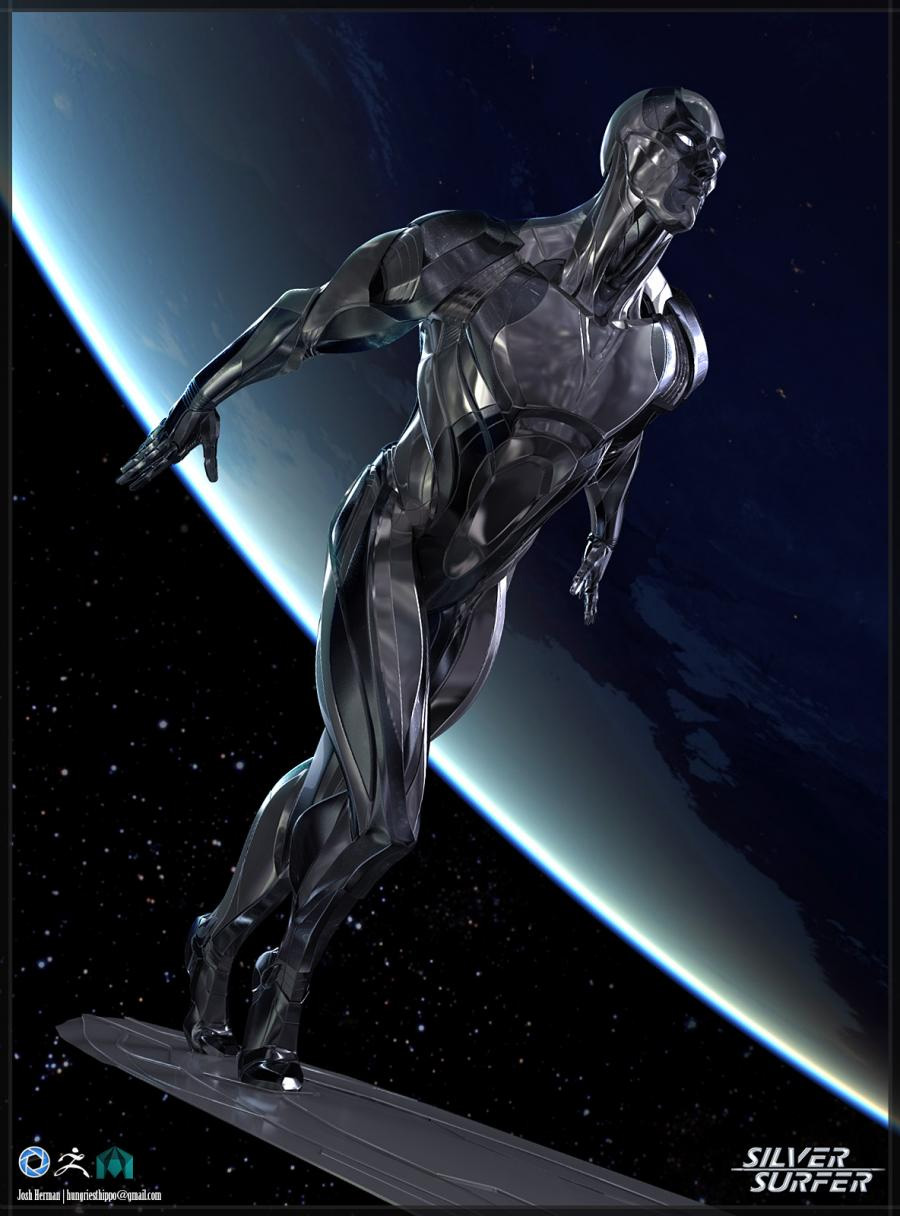
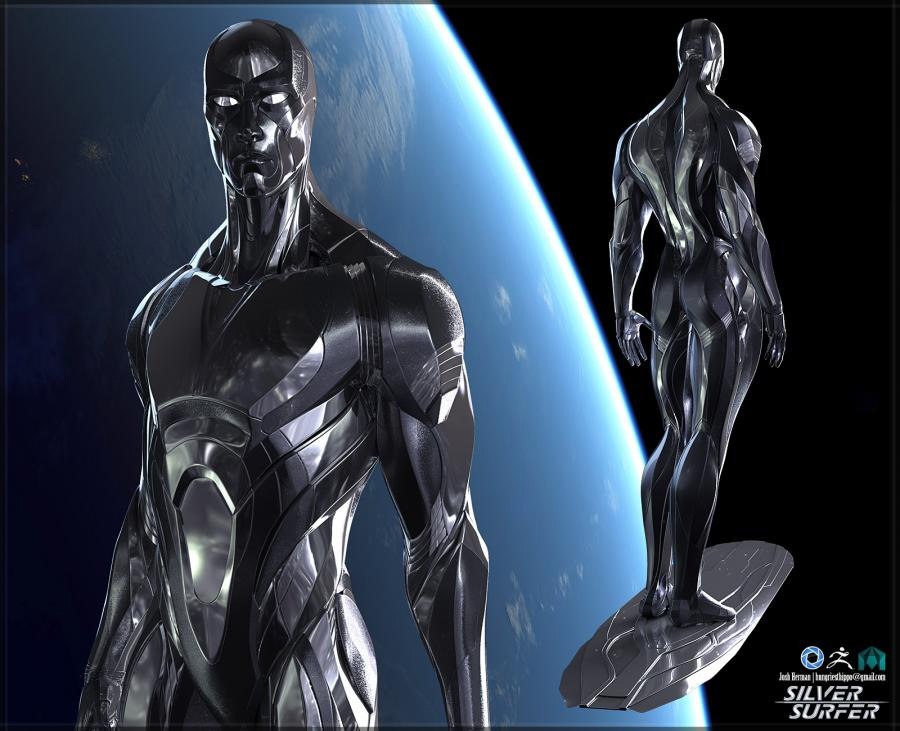
In his Gnomon Master Class, Josh explores how he recreated Marvel’s Silver Surfer in 3D, tackling the real-world production problem of modelling an iconic character from 2D source material.
In his Master Class, Josh tackles a typical real-world challenge: transferring a comic-book character from the printed page to a production-ready 3D model. Although he has worked on many of Marvel’s best-known superheroes, he chose the Silver Surfer for the class, feeling that a lesser-known character would offer more scope for design as well as modelling.
It’s a decision informed by experience: one of Josh’s recent commercial jobs was the the upcoming Guardians of the Galaxy, itself based on a lesser-known Marvel title. The movie teams US pilot Peter Quill (Chris Pratt) with a bunch of extraterrestrial misfits – including a green alien woman, a genetically engineered raccoon, and Groot, a tree-like humanoid: the latter created by Josh.
“It was an awesome show to work on,” he says. “With Captain America or Iron Man, people know what the character looks like, so you have to deliver something that meets their expectations. With a project like Guardians of the Galaxy, their expectations are less entrenched: they just know it’s a ‘tree guy’ or a ‘raccoon guy’ or a ‘green guy’. The artists are free to develop the actual details.”
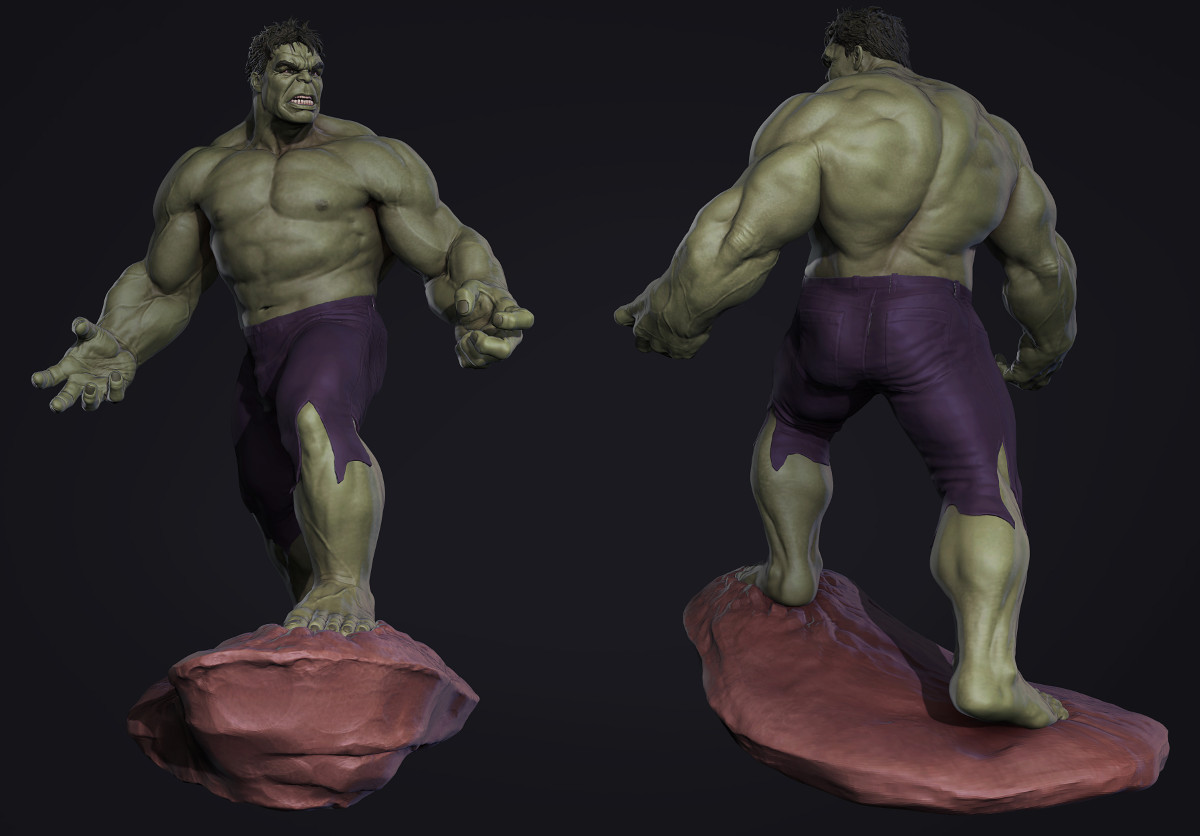
A character sculpt of Hulk. In the Master Class, Josh explores a typical production workflow of sculpting a base model in ZBrush, doing quick test renders to refine the design, then exporting to Maya for retopology.
In the Master Class, Josh sets out a workflow typical of his real production jobs, sculpting the base model in ZBrush, doing test renders in KeyShot and painting over them in Photoshop to quickly nail the correct look for the character, then repeating the process as necessary, before exporting the finished sculpt to Maya for retopology.
“As well as choosing the most appropriate tool for each task – Photoshop is really good for nailing some aspects of a design really quickly, like the silhouette – moving between software helps you overcome creative blocks,” he says. “If you’ve hit a point where you’re not clear what you’re trying to do to the model any more, try firing off a test render and painting over it quickly to get your ideas flowing again.”
Facing a tight deadline, Josh rendered the Silver Surfer in KeyShot. Luxion’s renderer is gaining a following among concept and character artists for the ease with which users can achieve photorealistic results.
For the Silver Surfer, Josh ended up doing three test renders: one to check overall form, one to decide on the colour scheme and one for the final details. Each one was done in KeyShot: a relatively recent addition to Josh’s toolbox. Although Luxion’s rendering software is mainly used in industrial design and visualisation, it has been gaining a healthy following among concept designers for the speed at which it is possible to achieve photorealistic results.
“I was originally going to use V-Ray for the Silver Surfer, but I was struggling to recreate the look of my earlier test renders,” Josh says. “Since I was up against a deadline [the character model was originally created for GameArtisans.org’s Comic-Con Challenge], it was quicker and easier just to do the final render in KeyShot.”
Josh says that KeyShot comes into its own when working with metal or other reflective surfaces, but notes that since it’s geared towards generating product renders, in which the lighting direction is fixed, it’s necessary to know how to get the best out of the software, or the resulting renders can come out looking flat.
“Keyshot is a product renderer, so it’s really made for beauty lighting,” he explains. “Sometimes that’s fine for concept work, but sometimes you want to push the lighting and make it more dramatic. Using the Edit feature, you can add Pins to the HRDI to create new light sources. By doing this and lowering the intensity of the original HDRI, you can easily customise and art direct your light and shadows.”
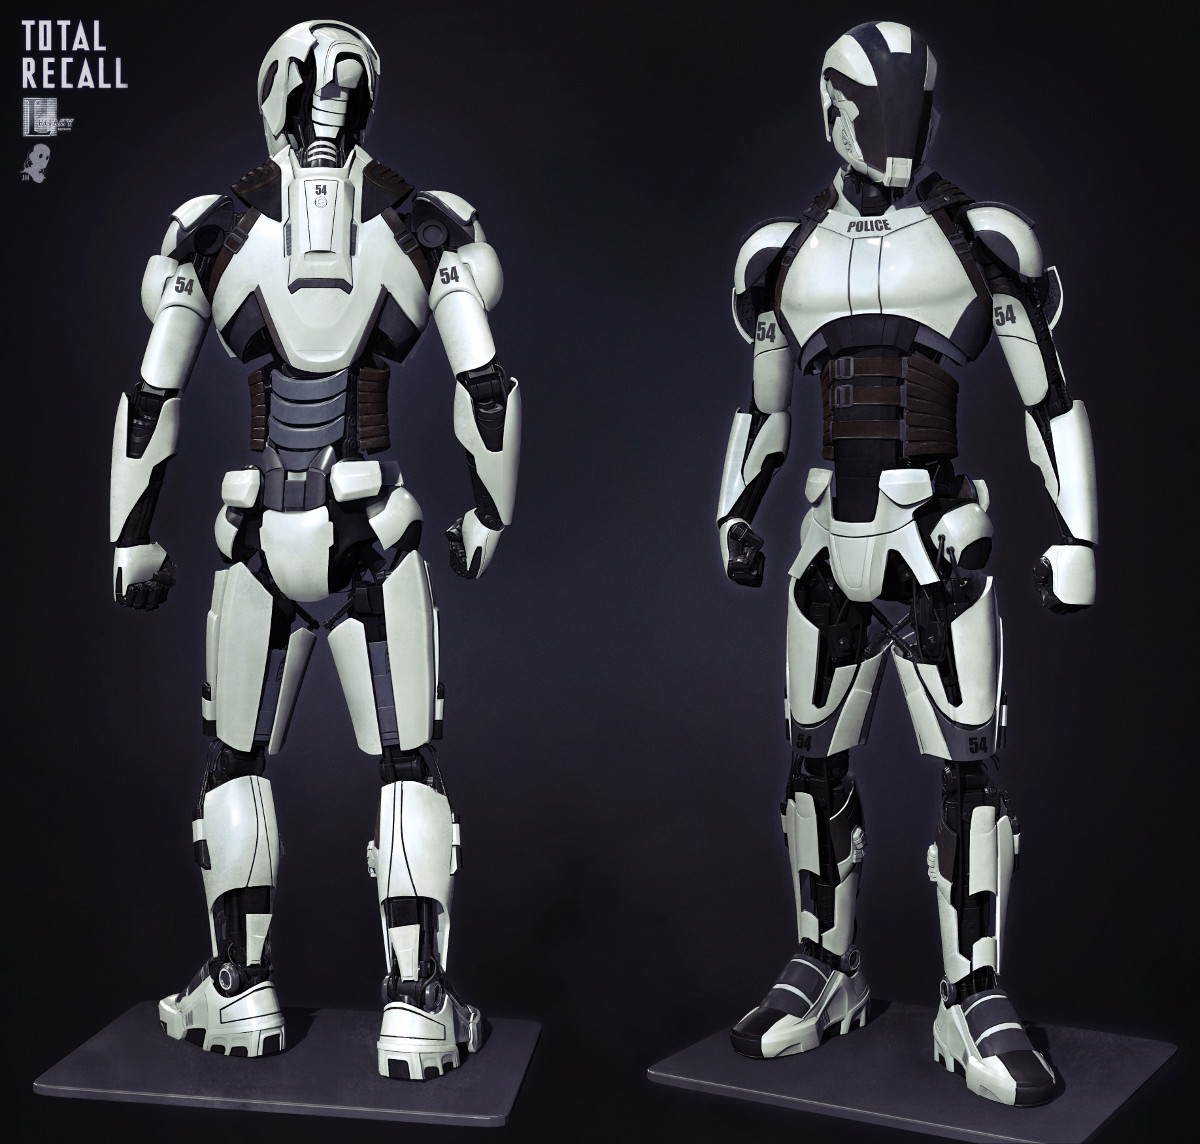
A design for Total Recall. Retopology is an essential part of the creative process when creating hard-surface models like this, says Josh, enabling an artist to establish a proper sense of flow in the model.
With the test renders complete, it’s time to export the sculpt to Maya in order to retopologise it for animation. Retopology can be a fiddly and repetitive process, so we asked Josh if he had any tips for making it less painful.
“Not really, no,” he laughs. “The tools have got better in the last releases of Maya [with the incorporation of the NEX toolset in Maya 2014 and 2015], but you’ve just got to go through it. Remember that you don’t need to get into detail early on, though: every polygon you create during the first 75% of the process will be reworked before you finish. And don’t try to topologise every lump and bump of a ZBrush sculpt: you just need to get the overall forms and the flow right.”
It also helps to treat retopology as a creative process in its own right. Josh points out that it is an important step in refining a design, particularly for a hard-surface model like the Silver Surfer.
“For an organic model, the refinement stage is adding fine detail like pores and wrinkles. For a hard-surface model, it’s retopology,” he says. “It’s important for developing a proper sense of flow in a character. It’s possible to hint at that in a ZBrush sculpt, but unless you spend time on retopology, you’ll never develop it fully. Don’t get me wrong: it isn’t my favorite thing to do, but if you rush through retopology, you’ll be missing an important step in the design process.”
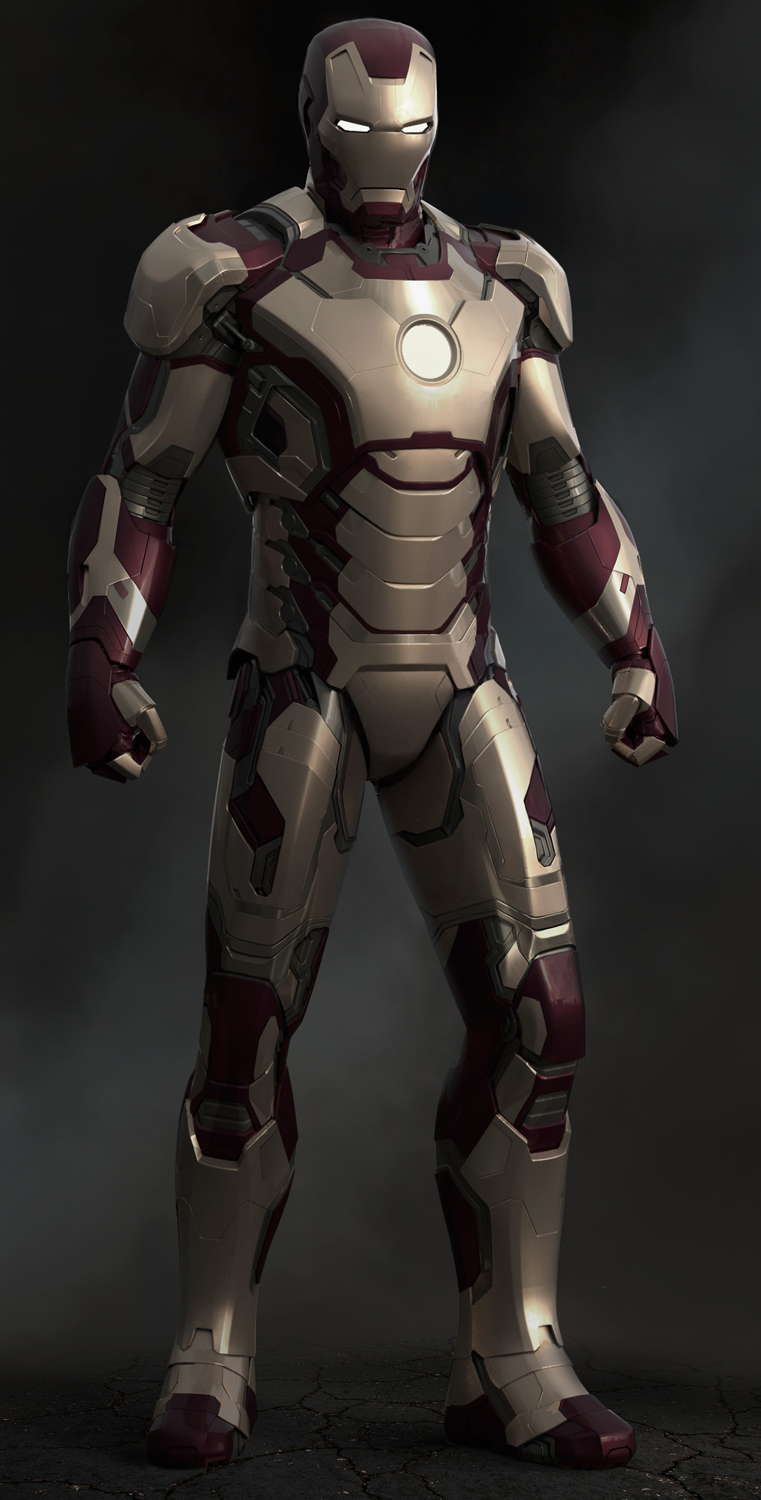
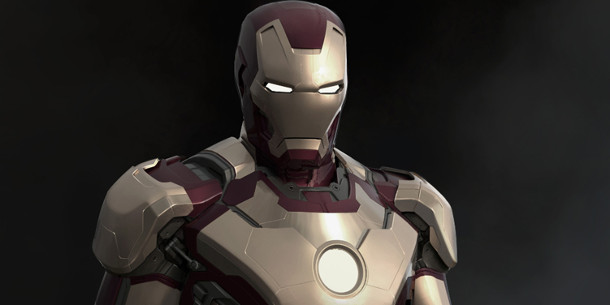
The Mark 42 suit from Iron Man 3. Creating a successful production model like this is about analysing the concept artist’s design intent and translating it effectively into 3D, says Josh.
Josh says that if there is a single thing he hopes people remember from the Master Class, it’s how to read a concept image quickly and apply that analysis to your own 3D work: something that can avoid a lot of frustrating and time-consuming reworking in production.
“It’s all about analysing the concept artist’s intent,” he says. “You need to be able to analyse what the design is intended to communicate, and what properties enable it to do that. That could mean the overall form, the lines, the colour palette, or even the lighting properties.”
Design intent, and the means used to convey it, varies greatly from concept to concept – even where the images are superficially similar. Josh points out that he has created two versions of Iron Man’s iconic armor for the movies – the Mark VII suit for The Avengers, and the Mark 42 for Iron Man 3 – and in each case, the design intent was quite different.
“One was about detail; the other was far more about specularity – the pattern of the highlights created by the forms,” he says. “Making the model look like the concept image is about working out why the image looks like the image in the first place.”
Visit Josh Herman’s Facebook page
Register for Gnomon Master Classes 2014 ($295 for all 14 sessions)
Full disclosure: CG Channel is owned by the Gnomon School of Visual Effects.