10 killer tips to speed up your environment workflow
Create detailed, immersive landscape designs even under tight deadlines with Call of Duty: Black Ops III concept artist Sebastian Gromann’s production-proven tips for speeding up your environment workflow.
I love creating environment scenes. The most exciting thing about landscapes is their potential to create immersion: something critical not only for the audience, but for the creator. The deeper you are able to dive into your made-up scenery, the more likely you are to be able to fill it with the details that will bring the scene to life.
However, that isn’t always an easy task when you’re tied to a client’s deadline. The following ten tips should help speed up your environment creation process, leaving you more time to focus on those all-important details.

1. Draft a timeframe
The first thing I do before starting a concept design is to outline a timeframe for each individual task. Although this might seem simple, it took me quite some time to value the importance of tight, personal time constraints. Setting yourself deadlines forces you to take a step back: to think about a suitable process and to divide it into sub-goals, preventing you from investing too much time in unnecessary tasks.
Coming up with a timeframe is a very personal thing, since everyone requires a different amount of time for particular tasks. But once you’ve decided on your schedule, it’s important to stick to it. Set a timer to warn you when a task should be completed, and then go on to the next. If you’re aiming to create two thumbnails, and have allowed yourself 15 minutes for each one, it’s likely that after those 30 minutes, you’ll have created a very solid sketch. Of course it could be tightened up, but if it delivers the information you need, move on.
In order to keep myself from getting stressed out by the timer, I also give myself an extra hour for every job, so I can spend more time on specific areas if necessary.
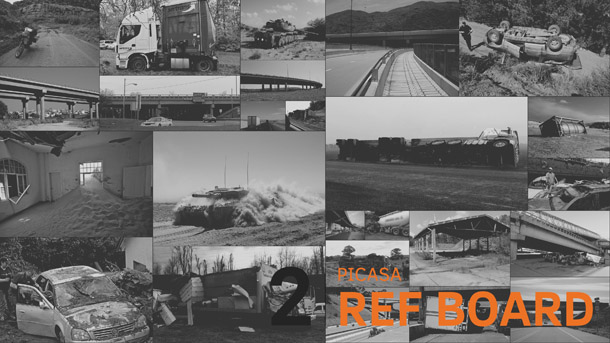
2. Set up a Picasa reference board
Before doing any sketching, I like to take a few minutes to look for inspiration, so the next step on my agenda is usually to search for photo references – either within my personal folders or via a Google image search.
So I can see the most useful images at a glance, I create a collage reflecting the mood and lighting conditions I’m aiming for, and showing the key elements of the composition. Having to drag every photo into a Photoshop document and arrange it properly can get annoying, but there’s a tool that can help: a Google app called Picasa.
All you need to do is import a folder containing the images you would like to have in your reference board, set a few properties like format and scale, and then click Create Collage. You can even adjust the images’ positions in real time, using a slider, before saving the result as a JPEG.
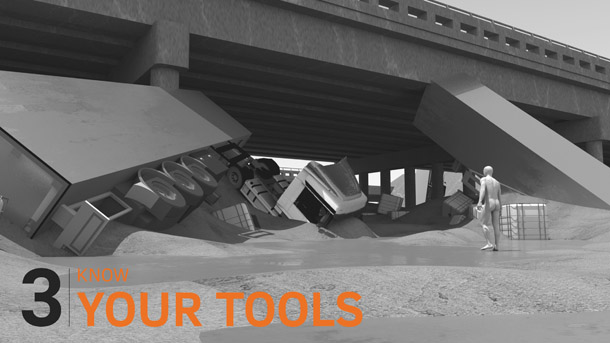
3. Know your tools
It’s important to know which software packages will help you achieve your current goal most quickly. Do you need to go into ZBrush and sculpt custom terrain using alphas, or could you get away with Replicators in Modo? Or could you simply use linework this time?
Also, remember that you are better off not using a tool just for the sake of using it. It’s like being a cook: while you could use a single knife for everything – or conversely, use a different knife for every task – using the right knife for the right job will let you work faster and more precisely.
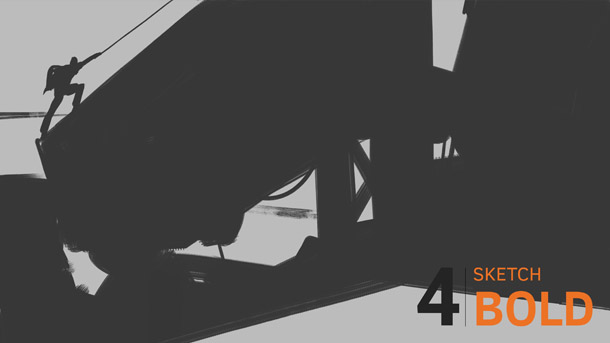
4. Go bold first
Another big time-saver is to work boldly and energetically before starting to refine an image. Do the big shapes first. This holds true whether you’re blocking out an environment in 3D using primitives or creating a black-and-white 2D sketch based on interesting silhouettes.
You should also be bold about abandoning not-so-successful sketches. Instead of trying to rescue an unsuccessful draft, it’s usually worth killing your darling and starting again from scratch.
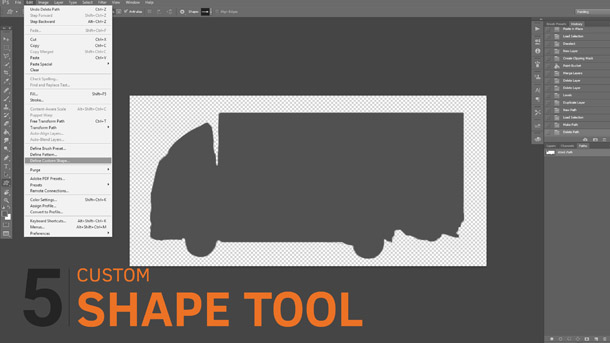
5. Use Photoshop’s Custom Shape Tool
If you work with photo textures in your environment concepts, you probably know the struggle of having to cut out the relevant part of an image. So create a library of cutouts.
I find it useful to store each snippet in a separate PNG or PSD file, and organise them according to subject matter. For instance, if I cut out a fir tree, I add it to my ‘Northern Tree’ folder. Being able to reuse cutouts between projects leaves me more time to focus on the actual concept work, and having a lot of cutouts on file gives me a diverse, realistic collection of silhouettes I can use to enrich my thumbnail sketches.
To integrate photographic elements properly into black-and-white thumbnails, I use Photoshop’s Custom Shape Tool. Click the Create New Path icon at the bottom of the Paths panel to create a new path around the element, then go to Edit > Define Custom Shape. Select the Custom Shape Tool, then select your new shape from the drop-down in the top options bar to begin using it. You may also want to press the Fill Pixels button in the options bar, and check the Unconstrained setting.
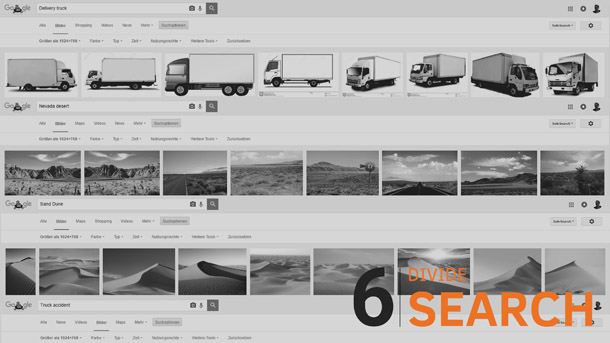
6. Divide up your image search process
During environment development, we have to look for a lot of reference images. In my experience, it’s easy to get sidetracked by this exciting photo hunt. To avoid temptation, I usually divide my search process into two.
The first point at which I look for references is before beginning the ideation phase. At this stage, I’m looking for inspirational images to generate ideas from, not things to copy and paste directly into the image.
The second point – and the one that takes up the bulk of the time – is after I finish the sketch or thumbnail. I separate out all of the elements featured in the scene, and look for specific photographic textures to replace them. Again, I set myself a timer for this, and focus on the most significant elements first.
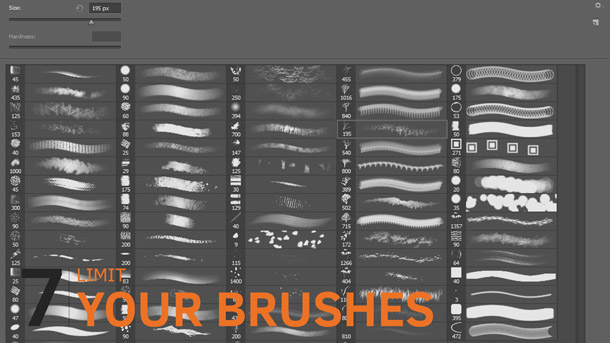
7. Limit your brushes
Having too many options during the creative process can limit productivity. This is especially true when it comes to Photoshop brushes: since you change brushes frequently, delays quickly stack up. Is that brush I just chose really the right one for my next task? Maybe I should try this one instead, as I remember artist X using it once?
It’s good to download new brushes and try them out, but when doing serious work, it’s advisable to limit yourself to a tight selection of brushes that you know inside out, and have practised with a lot.

8. Take breaks
It sounds counter-intuitive, but taking small breaks can actually speed up your work. I’m not talking about spontaneous one-hour let’s-go-to-the-park breaks here, but about controlled pauses to regain focus.
What works best for me personally is leaving my desk for five minutes every half-hour or hour. This helps stimulate my attention, and prevents me from spending too much time on a particular area of an environment.
I use the breaks for a number of tasks. Sometimes, especially early in the day, I think again about the goals for the image, and what my next step should be. At others, I do household tasks, or some quick stretches.
The time you save by not getting sidetracked soon outweighs the time you spend on the breaks. Give it a try!
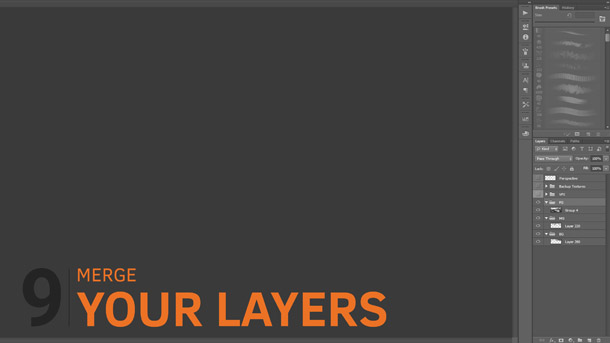
9. Merge your layers regularly
Being able to keep everything on different layers is both a boon and a bane. Knowing you have the power to change things later on in the process makes you less likely to commit to conscious, creative decisions.
Also, in order to achieve a feeling of depth, environment concepts usually require a fair amount of layering and overlapping elements. As you build up more and more layers, your PSD file begins to look like a rummage table.
I’ve found that regularly merging layers decreases the time I spend searching through Photoshop files enormously. It also forces me to be more patient with my mark-making. Not everyone likes to work this way, but to speed up your environment creation process, I’d personally advise merging your layers as often as possible.
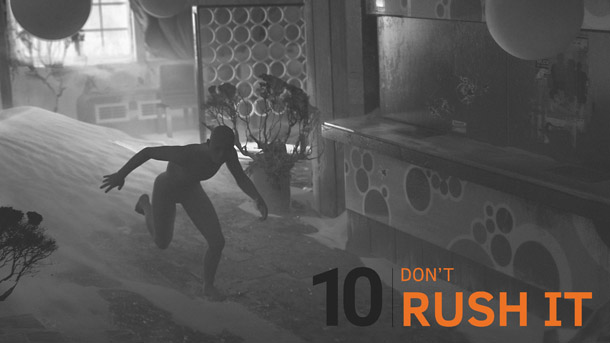
10. Don’t rush it!
I know this article is about speeding up your workflow, but speed isn’t worth anything if your finished concept lacks profundity. Working faster isn’t about making quick brush strokes, but about working more purposefully. If you want to create a badass environment concept, don’t let things get too hectic.
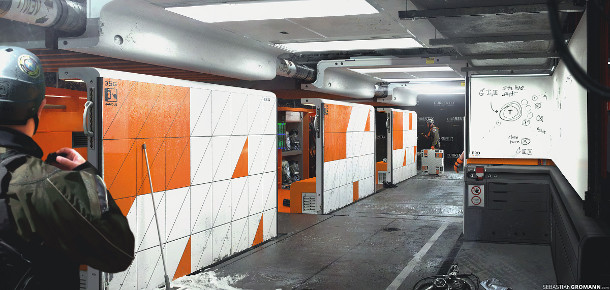
 About the author: Sebastian Gromann is a freelance concept designer working for clients in the film and videogames industry. From his office in Berlin, he is currently collaborating with two of the world’s leading concept art firms, Karakter Design Studio and Ironklad Studios, on projects including Call of Duty: Black Ops 3. See more of Sebastian’s work on his website.