VFX breakdown: the making of ColourBleed
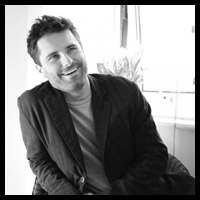 Since the start of his film career at George Lucas’s famed Skywalker Ranch, Peter Szewczyk has had a front row seat with the modern masters of cinema. Sitting through what he calls “a decade of dailies” with the likes of James Cameron, Andrew Stanton, Andrew Adamson and George Lucas, he studied each director’s approach to storytelling intensely.
Szewczyk contributed to the Harry Potter, Shrek, Star Wars and Ice Age franchises, but it was not until James Cameron’s Avatar that he felt he was ready to leave the trenches of VFX for the challenges of directing.
In this article, Szewyczk runs through the production process of ColourBleed, his award-winning VFX short.
My recent film, ColourBleed, is a nine-minute live action short, set in a bleak Eastern European city. It follows the unfortunate fate of an idealistic young girl (newcomer Milla Karkkainen) who crosses paths with a scheming and enigmatic old woman (veteran British actress Anna Barry). As the twisted tale unfolds, an increasing number of visual effects are employed to bolster the story.
I executed many of the nearly 70 VFX shots myself, but the more challenging set pieces called for after-hours help from some of the VFX industry’s feature film heavyweights. The film has gone on to be widely screened at international festivals including Fantastic Fest and Cambridge Film Festival, as well as scooping awards at Sitges Film Festival, HollyShorts and Rushes Soho Shorts.
The ColourBleed trailer: the full movie can be found on the BBC Film Network (link at foot of story).
Background
ColourBleed came about when the BBC’s Claire Cook, who had seen another short film of mine, Dark Clouds, emailed to ask what I was working on next. She was looking for films that might be eligible for the next BBC short film program. It just so happened that I was right in the middle of pre-production on a strange story that I was treating as an exercise in ‘A to Z’ filmmaking: something that would allow me to touch every aspect of filmmaking from storyboarding and pitching all the way through press and publicity.
The pitch and script were written in September of 2009. Previs and storyboarding took place during October and November. We shot the first half of the film in London during December and immediately began working on the effects. The second half was shot during February in Poland and the effects continued until the film was delivered on 31 March 2010.
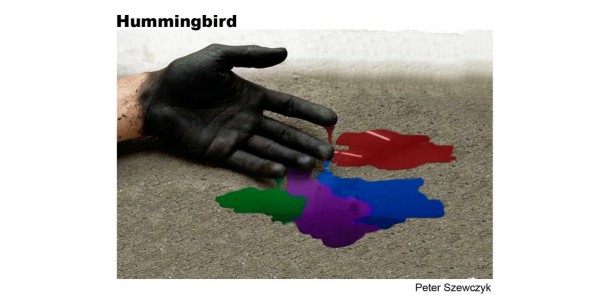
The working document for the short, then called Hummingbird. Read the full treatment.
Development process
I find it very important to get a rough pass out of each shot as soon as possible and then refine, refine, refine. Once a shot is open, I do some basic set-up – perhaps a day’s work – and then move on. This enabled me to gauge which would be my master shot, which shots had special problems, and which would be simple. It also enabled me to develop everything to a consistent level of quality, rather than getting one shot looking great, then recklessly racing through the other seven. No one will remember your one great shot. They will remember the seven dodgy ones.
Each of the following tasks took roughly a month. In most cases I allowed myself a few days of look development and research before plunging into shots.
Previs
I had the privilege of working at Skywalker Ranch on THX 1138 and Star Wars Episode III during a time when the third floor of the main house was brimming with talent. On one side of the floor we had artists like Ryan Church and Iain McCaig producing inspirational pieces of artwork daily, and on my side of the floor was the previs department, headed by Dan Gregoire – who would go on to start Halon Entertainment – and Chris Edwards, who would later found The Third Floor. It was there I learned the incredible value of previs and now I treat the discipline as an indispensable tool of filmmaking.
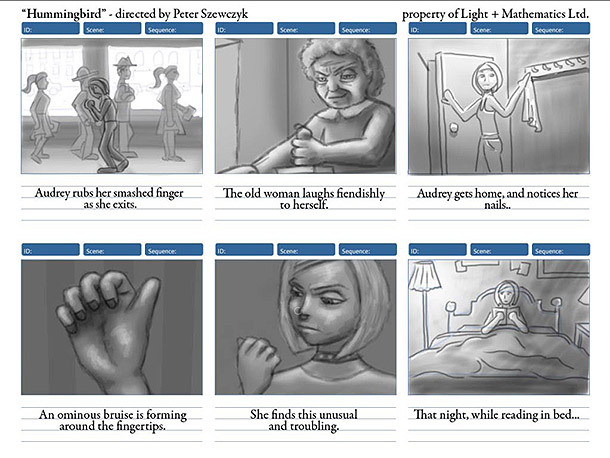
See the complete ColourBleed storyboards
Before starting the previs, I storyboarded the whole short. I find it tremendously helpful to have all the boards tacked up on the wall to see how the story flows, and later, to keep track of the VFX shots. Once that was done I moved onto Maya. Using a pre-rigged character I downloaded from the net and Maya cameras matching the real-world lenses I would be using for the shoot, I prevised the entire short.
Initially, I did the previs to get my head around how long the film would be, how fast it was paced, what sort of locations we needed, and what the camera set-ups would look like. However, I think it was also the deciding factor in getting the BBC on board. They could look at sequences I had prevised on other projects, and see the one-to-one comparison between the previs and finished film. The previs removed any ambiguity about how the story would unfold, and gave them faith about what it would turn into.
View the previs on Vimeo (non-embeddable video)
Finally, the previs helped on set. I had it on my iPad, and the First Assistant Director and Director of Photography would constantly scrub through it to see where we were. Actors could look at it, and get their bearings when we shot out of sequence.
When employed for action sequences, this often resulted in shots that matched down to the second. When the shots involved acting and dialogue, however, all bets were off. It’s difficult to predict how long it will take an actor to move from one beat to another in a natural way – and impossible to predict when they will want to move around, change the blocking, or improvise something clever. As a result, some of these shots ran almost twice as long as the previs.
For my next short, I plan to bring in the editor and DP into the previs process. The editor can point out places I may need extra coverage, and the DP could begin consolidating shots or choreographing interesting moves.
Creatures
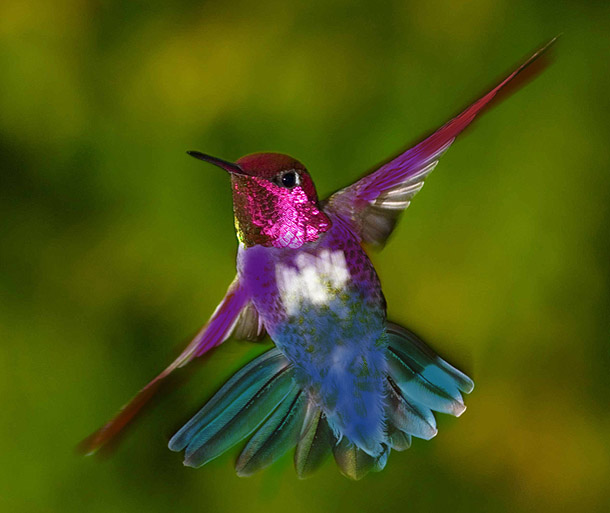
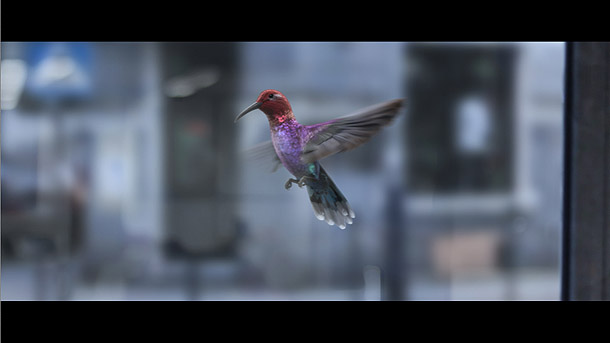
Pretty much every project I direct seems to have a creature in it. In this one, we had a colourful little hummingbird that distracts the lead actress at a pivotal moment in the film. After Armando Sepulveda created a beautiful model, Robin Reyer and I developed the look of the bird. Robin did most of the heavy lifting, then I tweaked the final look in the production shots.
We were not going for any specific species, but instead, shopped around for details of different birds we liked. I wanted a specific colour palette here. During the research phase, I found that introducing yellow, orange or bright greens made the film look too much like a commercial. Instead, the only vivid colours I used were dark aquamarine, dark blue, dark purple and dark red, and this held for the bird as well.
The animation was done by Jakob Welner, not long after he finished up duties on Legend of the Guardians. We had some terrific slow-motion reference from the web, so between that and his prior experience with birds, he pretty much nailed it on his first pass.
Once all of Robin’s maps were applied, we played around with some shader settings including iridescence and transparency. The larger feathers were individually modelled, textured, and mapped, but the small feathers were just a displacement map.
All of this got us 90% there, but I felt like our displacement map wasn’t selling the feathers enough, so I applied a final pass of fine, faint hairs over the small feathers. That gave the bird a nice softness, and made it more responsive to lighting.
My background is in RenderMan, and while I would have loved to use RenderMan Studio here, I’m an independent filmmaker on a budget, so the RenderMan-compliant renderer 3delight made the most sense. This generated motion blur and depth of field quickly and accurately in camera while outputting all the necessary secondary passes.
Set enhancements
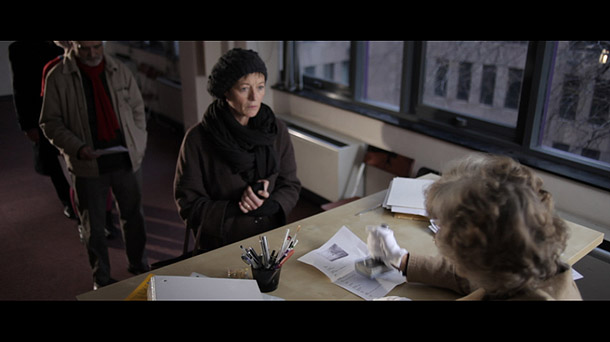
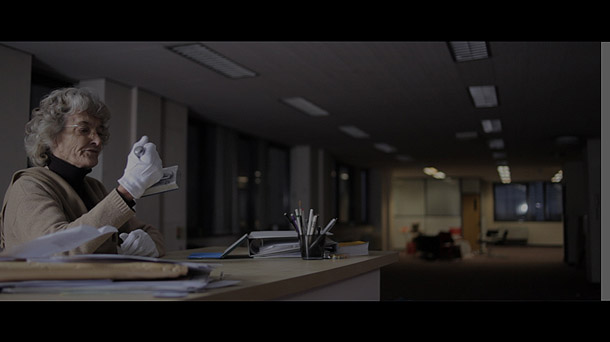
I had hoped to find a dirty old office in London to shoot the interiors. Unfortunately, the ones that I really liked cost a fortune. The space I ended up with was a great deal (free!) but it was quite clean, and on the second floor of the building. The story called for something on the ground floor, and it needed to look depressingly run down inside. That meant CG set enhancements.
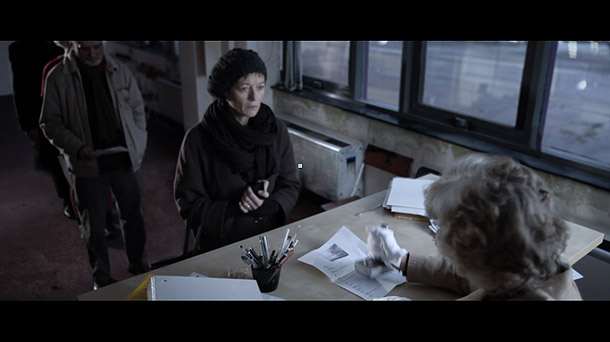
The office: after set enhancement…
I try to avoid greenscreen at all costs. While it means that I have to deal with some intensive roto, I get to have much better lighting on set. Most of the camera work in the office scene was locked off, making things easier, but Per Mørk-Jensen and I still spent a lot of time working up shots to give the interior water stains, cracks, mildew, rusted metal and broken lights. These set elements were often just created in Photoshop from photo reference, then tracked into place: virtually no 3D was used. It was a lot of time-consuming work, but needed to happen to keep the interior world consistent with the exterior.
Per, a recent VES award winner, didn’t just have a hand in the set work: I often sought his opinion on key shots.

Another view of the office after set enhancement…
Fluids
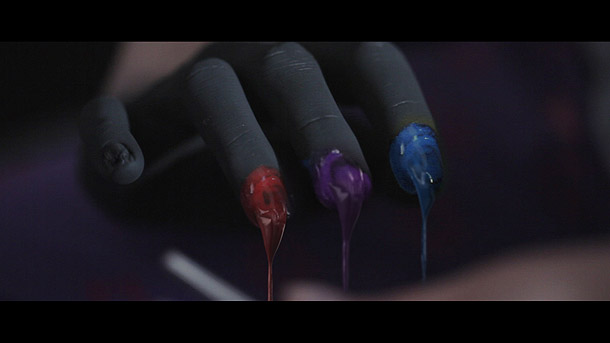
Fluid simulation lies at the heart of the film, so this was the effect I started earliest, and put the most research into. I looked into RealFlow, but was already so comfortable with Maya Fluids and nParticles that I decided to go with those.
In Maya 2011, fluids could be motion-blurred, which was essential – but I had a lot of problems maintaining the appearance of a consistent volume. Since the streams of liquid were often very thin, I found that Maya Fluids would sometimes allow them to disappear completely. In the end I went with nParticles with a very high density for the emitter. I also added a randomising expression for particle size, and animated the emission rate to give the flow some slight interruptions. The emitters were then tracked by hand onto the actor’s finger tips.
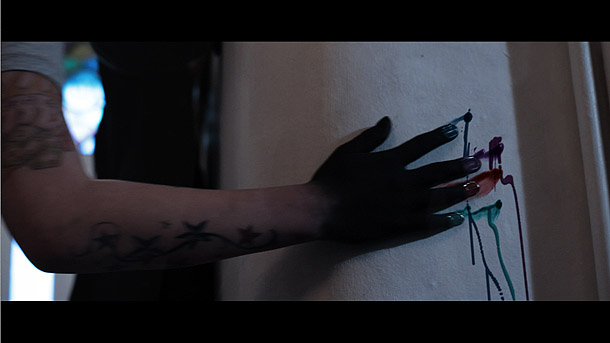
For one of the close-ups, I just used some simple geometry for the end of the fingertips, and an animated displacement map. For another special-case shot I actually photographed some smears of paint I made with my fingers and animated them wiping onto a wall as the actress’s hand passed over. For that same shot, I also had a bit of ‘sticky’ wall for the particles to collide with.
Destruction
I had already had a fair bit of experience with destruction from my earlier short, Dark Clouds, so I wasn’t too worried about this part of the work. It also helped that, at one of the usual London VFX community Friday evening pub outings, I had been introduced to a very bright TD named Stefan Habel who had written a custom tool for animated destruction which allowed for a high degree of art direction.
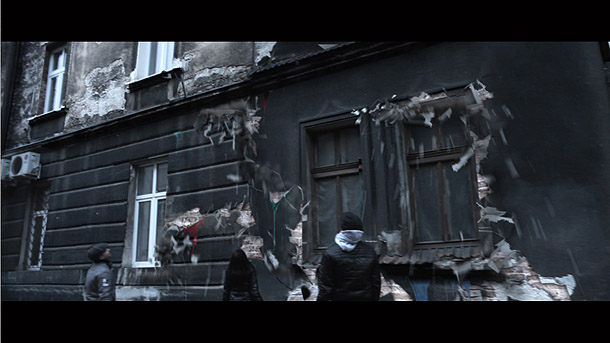
As the project neared its deadline, Stefan and I put our heads together and attacked the half dozen destruction shots. For the close-ups, Stefan’s Houdini system, which used curves to define cracks, gave me all the interest and detail I could want. For wider shots, I used a mixture of nCloth, nParticles, and a terrific plug-in called Ruins that my flatmate loaned me. Ruins may not have all the bells and whistles of some high-end physics simulators, but for my demands, which were pretty straight forward, I found it incredibly useful, fast and stable.
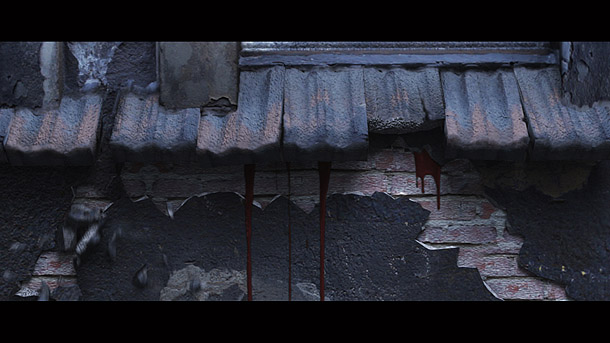
To finish off the destruction effects, I needed fluids once more – but this time I solved the problem the old-fashioned way. I just mixed up some thick paint, went into a car park, and shot the dripping elements against a background that could be easily keyed out.
Summary
As you can see from these breakdowns, none of the techniques I used were all that revolutionary. Many of them are from the earliest days of CG. I always tried to equip myself with multiple solutions to any one problem, thereby insuring a steady progress.
I’m sure some of my colleagues would say that some of my techniques were downright crude, but it is important to see the big picture, and how the effect will be presented in the cut. You would be surprised what you can get away with, so long as you keep an open mind when it comes to problem solving!

